
Many gardeners believe that growing squash successfully is simply a matter of putting a young plant in the ground and waiting for it to grow. However, how to plant squash seedlings correctly can make a real difference in how well your plants establish themselves.
The right planting method helps young squash plants develop healthy roots, produce strong leaves, and prepare for a productive harvest.
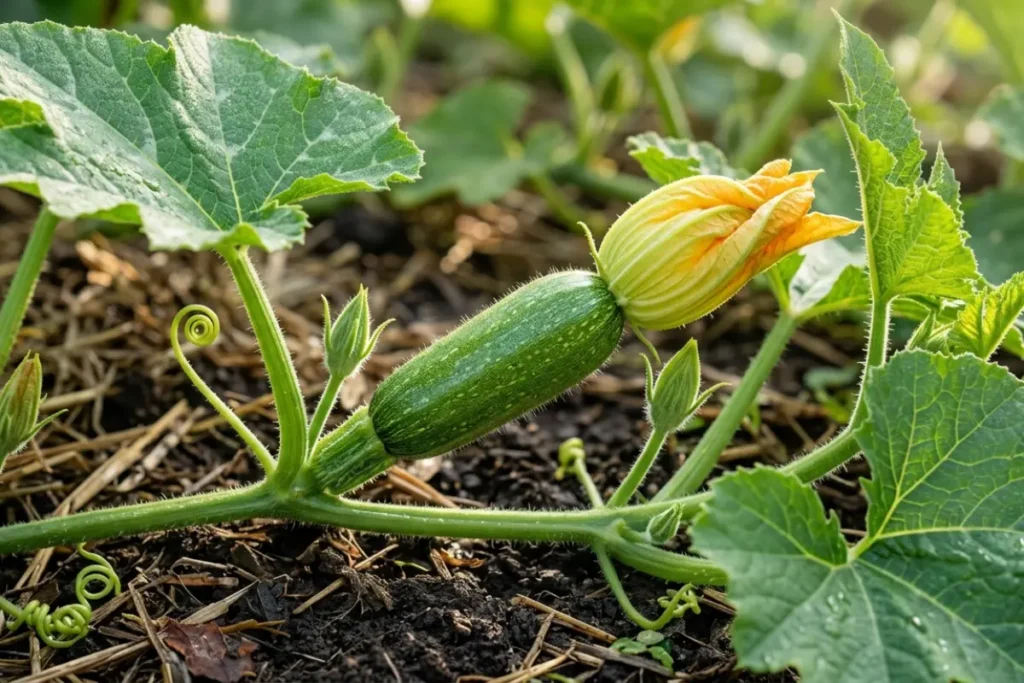
Before planting, consider your squash variety, garden conditions, and the space your plants will need as they mature. Healthy seedlings, suitable soil, proper spacing, and consistent care all support better growth.
With a little preparation and the right approach, you can give your squash seedlings a strong start and enjoy fresh squash from your own garden.
Understanding Squash Seedlings Before Planting
Squash seedlings are young squash plants that have grown from seeds and developed their first leaves. They may be started indoors in containers or grown directly in a garden bed. Understanding their early growth stage helps you handle them carefully and choose the right planting method.
Whether you’re growing zucchini, yellow squash, butternut squash, or another variety, healthy seedlings are a great starting point for a productive vegetable garden.
Different Types of Squash Seedlings
Squash comes in several varieties, and each type has its own growth habit and space requirements. Summer squash varieties, such as zucchini and yellow squash, usually produce fruit during warm weather and are often harvested while young.
Winter squash varieties, including butternut and acorn squash, generally take longer to mature and develop thicker skins as their fruits ripen.
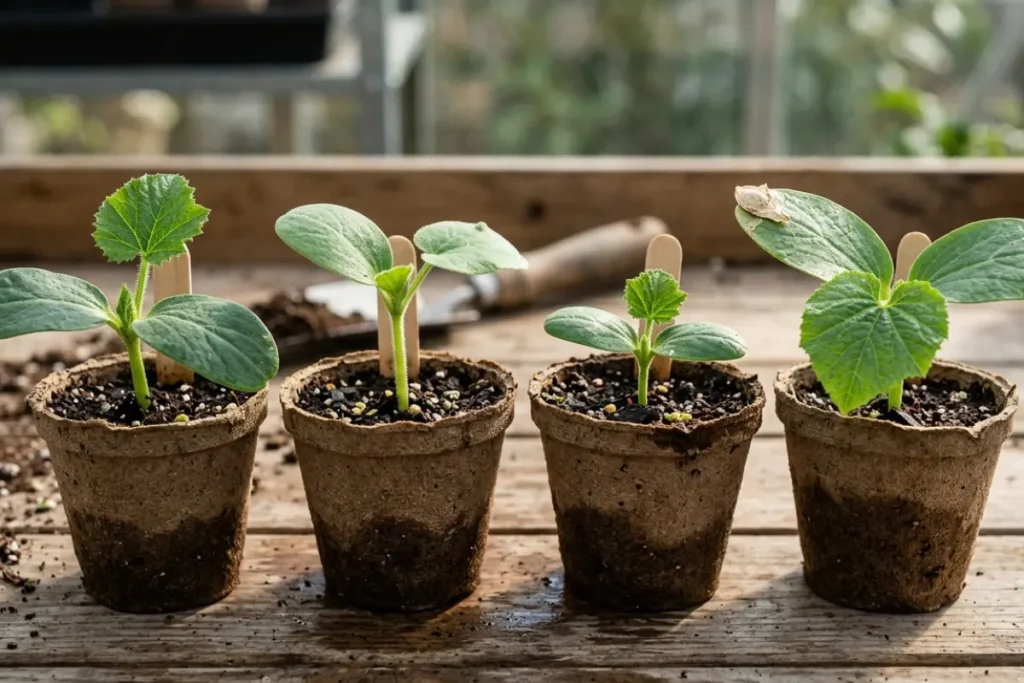
Before planting squash seedlings, check whether your variety grows as a compact bush or a sprawling vine. Bush varieties can suit smaller gardens, while vining types often need more room to spread. Knowing which squash you’re growing makes it easier to plan your garden layout and provide suitable growing conditions.
How to Identify Healthy Squash Seedlings Before Transplanting
Healthy squash seedlings usually have sturdy stems, green leaves, and visible signs of new growth. Their leaves should look reasonably firm rather than limp, and the plant should not show widespread yellowing, dark spots, or signs of pest damage.
Check the underside of the leaves for insects and inspect the stem near the soil surface for discoloration or soft spots. If the roots are visible through the drainage holes, they should generally look firm and healthy rather than dark, mushy, or rotten. Avoid choosing weak or badly damaged seedlings when healthier options are available.
How Large Should Squash Seedlings Be Before Planting Outdoors?
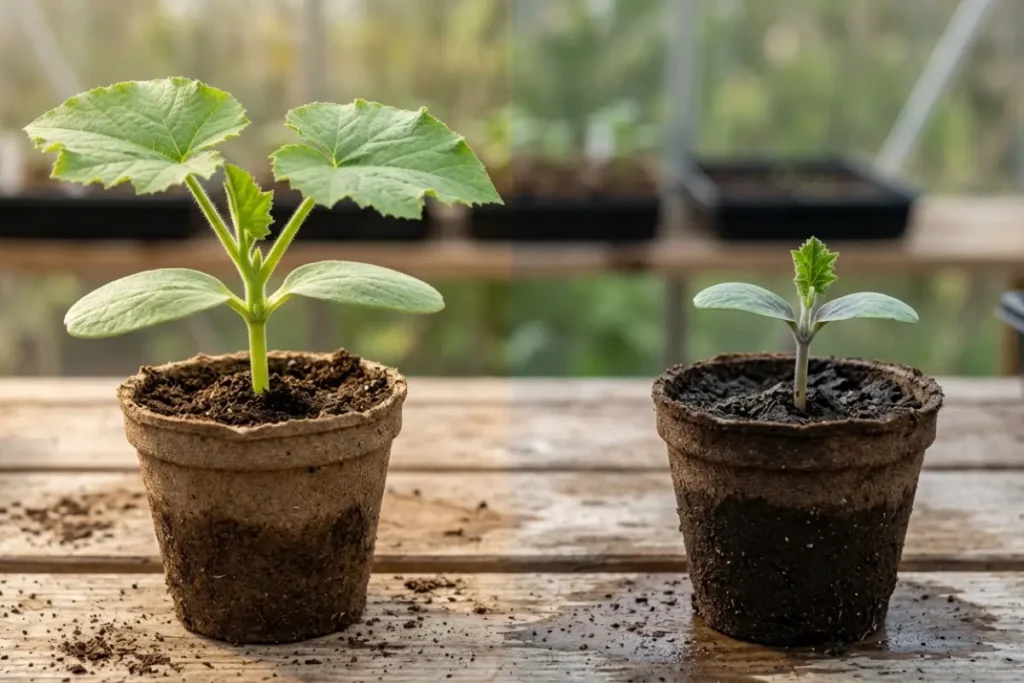
Squash seedlings are often ready for transplanting when they have developed one or two sets of true leaves beyond their first seed leaves and have a reasonably strong root system. The exact size depends on the variety and growing conditions, so don’t rely on height alone.
Very young seedlings can be fragile, while older plants that have remained in small containers too long may become root-bound. Look for balanced growth, healthy foliage, and roots that hold the growing medium together without forming a dense, tangled mass.
These signs can help you decide whether your young squash plants are ready for the next stage.
Why Young Squash Plants Need Careful Handling
Squash seedlings may look sturdy because their leaves grow quickly, but their roots can still be sensitive to rough handling. Pulling a plant out by its stem or breaking apart its root ball can damage the roots and make it harder for the seedling to adjust after transplanting.

When preparing seedlings for planting, handle them by the root ball or container rather than squeezing the stem. Keep the roots from drying out, and avoid leaving the seedlings exposed to harsh sun or wind for too long.
Gentle handling helps reduce unnecessary stress and gives your young squash plants a better chance to establish themselves in their new growing location.
When Is the Best Time to Plant Squash Seedlings Outdoors?
Many gardeners believe that squash seedlings can be planted outdoors as soon as the weather starts getting warmer. However, warm afternoons don’t always mean the soil is ready. Squash plants love warmth, and planting them too early can slow their growth or expose young roots to cold
conditions. If you want healthy squash plants and a better harvest, choose the right planting time based on soil temperature, local weather, and the risk of frost.
The Best Time to Plant Squash Seedlings Outdoors
The best time to plant squash seedlings outdoors is when the danger of frost has passed and the soil has warmed to around 60°F (16°C) or higher. For many squash varieties, soil temperatures of approximately 65–70°F (18–21°C) provide more favorable conditions for root growth.
Squash is a warm-season vegetable, so it grows best when temperatures remain comfortably warm. Planting in cold soil can leave seedlings struggling to establish themselves, even when the weather feels pleasant during the day.
If you’re growing summer squash, zucchini, yellow squash, or winter squash varieties such as butternut squash, wait until outdoor conditions are suitable. The exact planting date depends on your local climate rather than a fixed calendar date.
How to Check Soil and Air Temperatures Before Transplanting
Checking soil temperature is one of the simplest ways to decide when to transplant squash seedlings outdoors. Air temperature alone doesn’t tell you whether the ground is warm enough for healthy root development.
Use a soil thermometer to check the temperature a few inches below the surface, around the depth where the seedling’s roots will grow. Take readings in the morning and repeat them over several days to see whether the soil stays consistently warm.
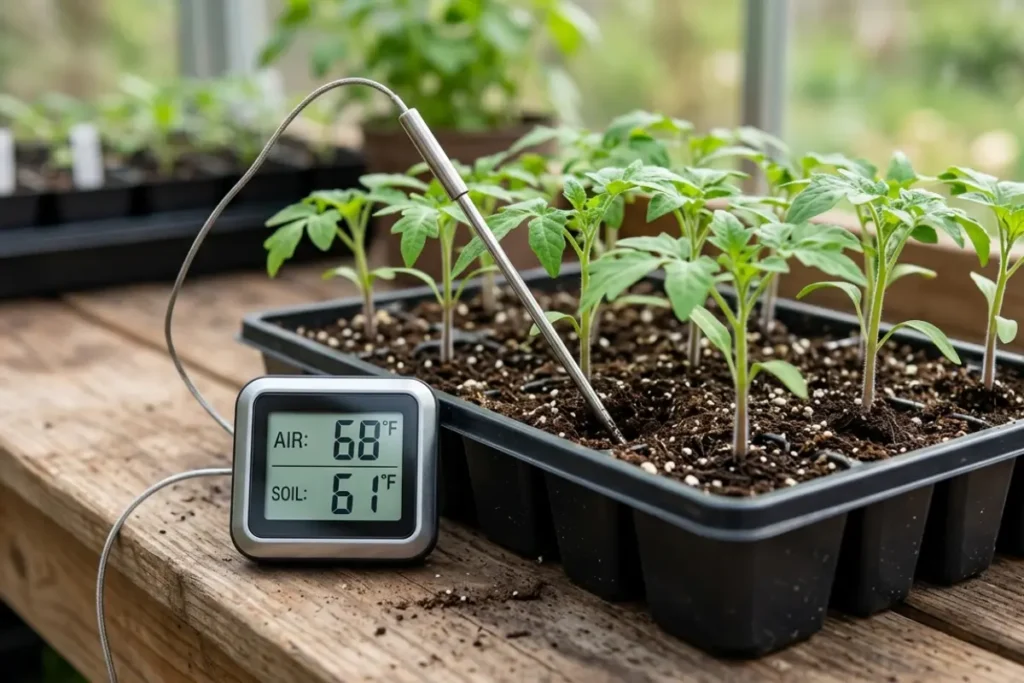
Also, check the local forecast for nighttime temperatures. Warm days followed by chilly nights can stress young squash plants and slow their growth. If cold weather is expected, wait a little longer before transplanting.
Quick tip: Don’t rush to plant squash seedlings after one warm afternoon. Consistently warm soil and mild nights give young plants a better chance to establish themselves.
How to Recognize When the Risk of Frost Has Passed
Squash seedlings are sensitive to frost, and even a brief period of freezing temperatures can seriously damage or kill young plants. That’s why checking the expected last frost date for your area is an important part of planning your squash planting schedule.
However, the last frost date is only a guide. Unexpected cold spells can still occur afterward, so check the weather forecast before moving your seedlings outside.
Look for a stretch of mild weather with no frost warnings and reasonably warm nighttime temperatures. If a sudden cold snap threatens newly planted squash, cover the plants with suitable garden fabric or another protective covering. Remove the covering when temperatures rise, and avoid letting it crush or damage the foliage.
Waiting for stable conditions may seem like a small detail, but it can help prevent transplant shock and encourage stronger early growth.
When to Transplant Squash Seedlings in Warm and Cool Climates
The ideal time to transplant squash seedlings varies depending on where you live. Gardeners in cooler climates usually need to wait until late spring or early summer, while gardeners in warmer regions may have an earlier planting window.
In cooler climates, focus on the last frost date and soil temperature. Even if seedlings look large enough to transplant, cold ground can slow root development. If spring weather changes frequently, keep seedlings protected until outdoor conditions become more stable.
In warm climates, including areas with mild winters and hot summers, squash seedlings may be planted earlier in the year. However, extreme heat can also stress young plants. Choose a planting period when the soil is warm but the weather isn’t excessively hot, especially during the first few days after transplanting.
For gardeners in hot regions, avoid assuming that summer is always the best growing season. Squash plants may perform better during a milder growing window, depending on the variety and local conditions.
The key is to match your planting schedule to the needs of your squash variety and the weather in your area.
Why Planting Squash Seedlings Too Early Can Slow Growth
Planting squash seedlings outdoors too early can create several problems. Cold soil makes it harder for roots to establish themselves, while chilly nights can slow the development of new leaves and stems.
Seedlings exposed to cold conditions may wilt, develop yellowing leaves, or remain small for longer than expected. Excessively wet, cold soil can also increase the risk of root problems.
Another issue is transplant shock. Moving a young plant from a protected indoor environment into cold, windy outdoor conditions can place additional stress on its roots and foliage.
To reduce these risks, wait until the soil is warm, nighttime temperatures are suitable, and the forecast looks stable. Once you transplant your seedlings, keep the soil evenly moist and monitor them for signs of new growth.
Giving squash seedlings the right start is more effective than trying to rescue plants that have been stressed by unsuitable weather.
How to Prepare Soil for Planting Squash Seedlings
Many gardeners believe that squash seedlings can grow well in any type of garden soil as long as they receive enough water. However, poor soil can limit root development, slow plant growth, and affect your harvest.
Preparing the soil before planting squash seedlings gives their roots a better environment to grow and helps the plants access the moisture and nutrients they need.
Choose a Sunny Garden Location With Well-Draining Soil
Squash plants grow best in a sunny location with fertile, well-draining soil. Choose a spot that receives around six to eight hours of direct sunlight daily. Good sunlight supports healthy foliage and helps squash plants produce flowers and fruit as they mature.
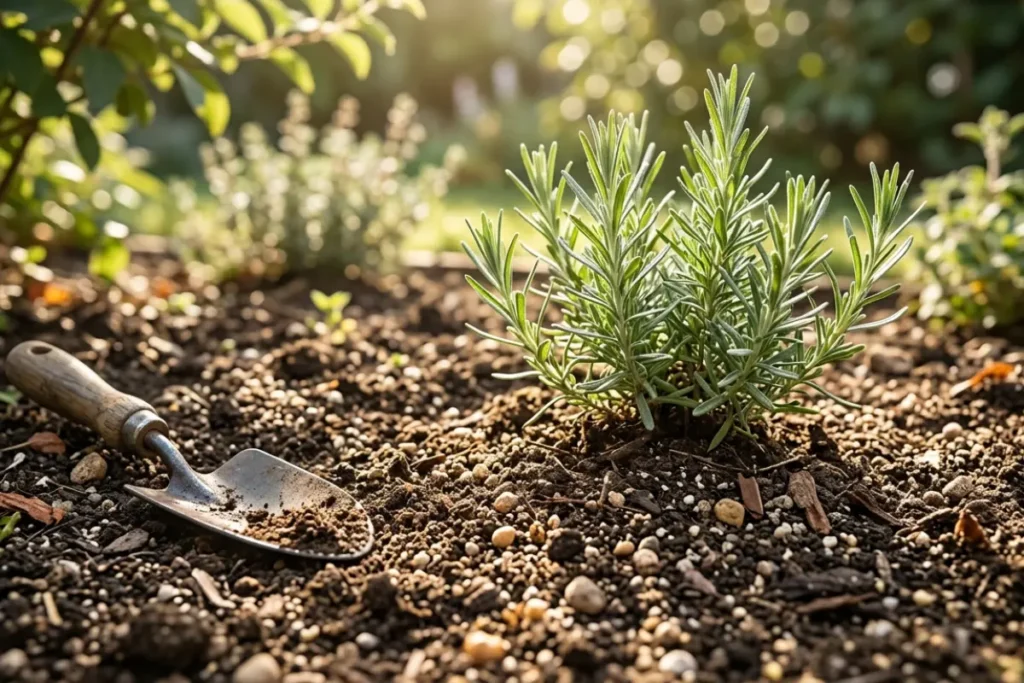
Drainage matters just as much as sunlight. Soil that stays waterlogged can deprive roots of oxygen and increase the risk of root rot. If water tends to collect in your garden after rain, consider improving the drainage, growing squash in raised beds, or choosing a better-drained planting area.
Before planting, loosen the soil so the roots can spread more easily. Avoid working with very wet soil because it can become compacted. A loose, fertile growing area gives young squash plants a better chance to establish strong roots.
How to Prepare Garden Beds for Squash Plants
Preparing a garden bed doesn’t have to be complicated. Start by removing weeds, large stones, and old plant debris from the planting area. Weeds compete with squash plants for water, sunlight, and nutrients, so clearing them beforehand helps reduce competition.
Next, loosen the soil to a depth of roughly 8–12 inches (20–30 cm), especially if the ground is compacted. Work carefully rather than digging excessively, as the goal is to create a loose growing environment without damaging the soil structure.
Break up large clumps and mix in suitable organic matter if the soil needs improvement. Rake the surface until the bed is reasonably level, then check that water can drain away instead of pooling. Preparing the garden bed in advance makes planting squash seedlings easier and helps create consistent conditions for root growth.
How to Improve Soil With Compost and Organic Matter
Squash plants benefit from fertile soil that contains plenty of organic matter. Mature compost is a practical option because it improves soil structure, supports beneficial soil organisms, and helps sandy soil retain moisture without making it unnecessarily heavy.
Spread a layer of finished compost over the planting area and mix it into the upper layer of soil. The amount needed depends on your existing soil quality, so avoid adding excessive quantities without a clear reason. If your soil is already fertile, a smaller amount may be enough.
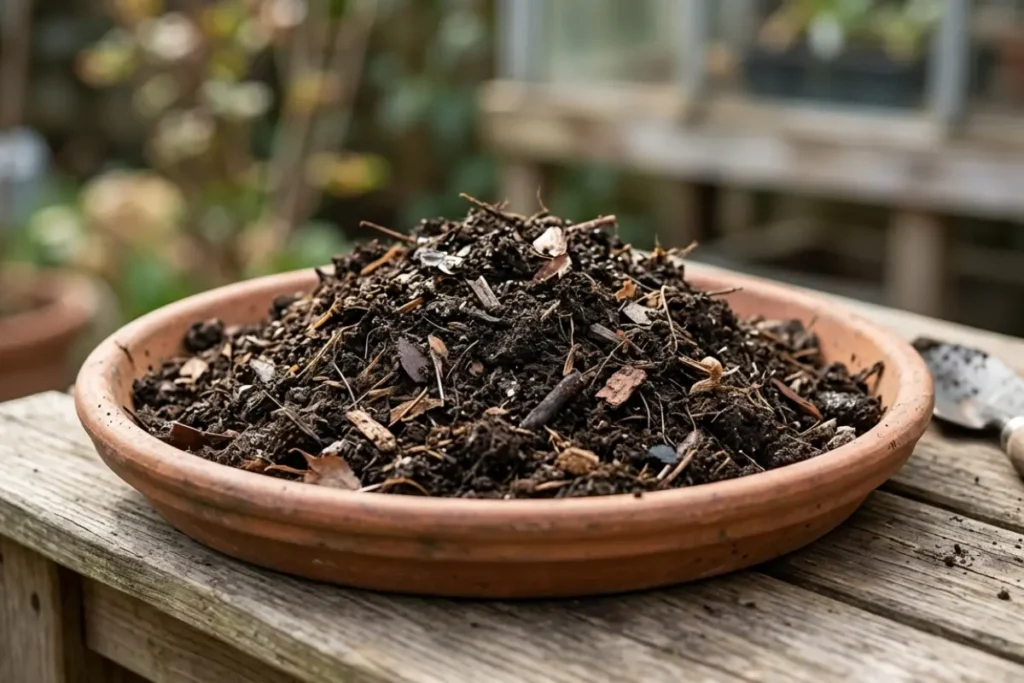
Well-rotted manure can also improve garden soil, provided it is properly composted and suitable for vegetable gardens. Avoid using fresh manure directly around squash seedlings because it can contain excessive nutrients and may damage roots.
Adding organic matter regularly can help maintain a productive squash garden. For the best results, combine compost with good drainage and appropriate watering rather than relying on fertilizer alone.
The Importance of Soil Texture, Drainage, and Nutrients
The best soil for squash seedlings is generally fertile, loose, and well-draining, with enough organic matter to retain moisture. Loamy soil often works well because it balances water retention with drainage and provides room for roots to spread.
Heavy clay soil may hold too much water and become compacted, while very sandy soil can dry out quickly and lose nutrients more easily. Adding suitable organic matter can improve both types, although the amount and approach depend on the soil’s condition.
Soil nutrients are important, too. Squash plants need nitrogen for leafy growth, phosphorus for root development, and potassium for overall plant health. However, more fertilizer doesn’t automatically mean better growth. Too much nitrogen can encourage excessive leaf growth at the expense of fruit production.
If your plants have struggled in the past, a soil test can help identify nutrient deficiencies and pH problems. Squash generally grows well in slightly acidic to neutral soil, around pH 6.0–7.0. Adjust the soil only when testing or other reliable information indicates a need.
How to Prepare Raised Beds for Squash Seedlings
Raised beds can be useful when your garden has heavy clay soil, poor drainage, or limited growing space. They allow you to create a more suitable growing environment by filling the bed with a balanced mixture of quality topsoil and mature compost.
Choose a raised bed deep enough to support healthy root development, and make sure excess water can drain freely. Fill it with a loose, fertile growing medium rather than pure compost, which may not provide the right balance of nutrients, moisture retention, and structure.
Before planting, remove weeds and level the soil surface. Plan enough room for the mature squash variety because some plants spread well beyond the original planting spot. Bush varieties may fit into smaller beds, while vining squash often needs more space or a suitable support system.
Raised beds can warm up faster than the surrounding ground, but they may also dry out more quickly. Check soil moisture regularly so your squash plants receive consistent water as they establish themselves.
How to Prepare Containers for Growing Squash
If you don’t have a garden, you can still grow squash in containers. The key is choosing a pot that provides enough space for the roots and has drainage holes at the bottom.
Compact bush varieties are usually easier to manage in containers than vigorous, sprawling vines. A large container of around 5–10 gallons (19–38 liters) may suit some compact summer squash varieties, although larger plants can require more room. Check the expected mature size of your chosen variety before selecting a pot.

Fill the container with a quality potting mix designed for vegetables. Garden soil alone is often too dense for containers and may drain poorly. Avoid filling the pot with pure compost, as it can retain too much moisture or have an unsuitable nutrient balance.
Place the container where the plant can receive plenty of direct sunlight. Since container soil dries faster than garden soil, monitor moisture more frequently, especially during warm weather. A properly prepared container gives squash seedlings a suitable space to grow even on a patio or balcony.
Common Soil Preparation Mistakes to Avoid
One common mistake is planting squash seedlings in compacted soil without loosening it first. Dense soil restricts root growth and can make it difficult for water to move through the planting area.
Another mistake is ignoring drainage. Squash needs consistent moisture, but constantly saturated soil can harm its roots. If your garden remains wet after rainfall, improve drainage or consider raised beds rather than trying to solve the problem with more fertilizer.
Adding too much fertilizer or fresh manure can also cause problems. Excess nutrients may damage young roots or encourage leafy growth that doesn’t translate into a better harvest. Use mature compost and apply additional fertilizer according to your soil conditions and the product instructions.
Finally, avoid using poor-quality container soil or choosing a pot that’s too small. Both can restrict root development and make watering more difficult. Taking time to prepare the growing area properly helps create the conditions squash seedlings need for steady growth.
Remember: Healthy squash plants begin with suitable soil. By improving soil structure, adding mature compost when needed, ensuring good drainage, and choosing the right growing space, you can create a strong foundation for your squash seedlings and support healthy growth throughout the season.
Frequently Asked Questions About Planting Squash Seedlings
How Do You Plant Squash Seedlings in the Garden?
Choose a sunny location with fertile, well-draining soil. Carefully remove the squash seedling from its container without damaging the roots, then place the root ball in a hole that fits its size. Fill the hole with soil, gently firm the surface, and water thoroughly. Give each plant enough space to grow according to its variety.
When Should I Transplant Squash Seedlings Outdoors?
Transplant squash seedlings outdoors after the danger of frost has passed and the soil has warmed to at least 60°F (16°C). Warmer soil, around 65–70°F (18–21°C), can provide better conditions for root establishment. Check your local weather forecast and nighttime temperatures before planting to avoid exposing young plants to cold conditions.
How Deep Should Squash Seedlings Be Planted?
Plant squash seedlings so the root ball sits at approximately the same depth as it did in its original container. Cover the roots with soil without unnecessarily burying the stem or leaves.
Planting too deeply in wet soil can increase the risk of stem and root problems, so make sure the planting hole drains well.
How Far Apart Should Squash Seedlings Be Planted?
Spacing depends on the squash variety and its growth habit. Compact bush varieties may need around 18–36 inches (45–90 cm) between plants, while sprawling winter squash varieties may require 3–6 feet (90–180 cm) or more.
Always check the seed packet for variety-specific recommendations, and allow enough room for air circulation and mature growth.
How Often Should I Water Newly Planted Squash Seedlings?
Water newly planted squash seedlings immediately after transplanting to settle the soil around their roots. Afterward, check the soil regularly and water when the upper layer begins to dry.
The frequency depends on temperature, rainfall, soil type, and container size. Keep the soil evenly moist but not waterlogged, as excess water can damage roots.
Do Squash Seedlings Need Full Sun?
Yes, squash plants generally grow best with around six to eight hours of direct sunlight daily. Plenty of sunlight supports healthy leaves, flowering, and fruit development.
Choose an open planting location with minimal shade. In extremely hot climates, some afternoon protection may help reduce heat stress, especially while young seedlings are establishing themselves.
Can I Plant Squash Seedlings Directly in the Ground?
Yes, you can plant squash seedlings directly into a prepared garden bed once outdoor conditions are suitable. If you mean growing squash without transplanting, you can also sow squash seeds directly into the ground.
Direct sowing avoids transplant shock, while transplanting seedlings can give you a head start when the growing season is short.
Why Are My Squash Seedlings Wilting After Transplanting?
Squash seedlings may wilt because of transplant shock, damaged roots, dry soil, strong sunlight, or excessive heat. Check the soil moisture first. Water if the soil is dry, but avoid adding more water if it is already saturated.
Protect severely stressed seedlings from harsh afternoon conditions and monitor them for improvement over the next few days.
Can Squash Seedlings Grow in Pots?
Yes, squash seedlings can grow in pots if you choose a suitable variety and provide enough root space. Compact bush varieties are often easier to manage than sprawling types. Use a large container with drainage holes and a quality vegetable potting mix.
Place it in a sunny location and monitor watering carefully because container soil can dry out quickly.
How Long Does It Take Squash Seedlings to Produce Squash?
Many summer squash varieties begin producing harvestable fruit around 45–60 days after seeds are sown, although the timing varies by variety and growing conditions.
Winter squash often takes around 80–120 days or longer to mature. If you transplant established seedlings, the remaining time may be shorter. Consistent watering, suitable temperatures, healthy soil, and successful pollination all help support fruit production.
Conclusion:
Learning how to plant squash seedlings correctly can help you grow stronger plants and enjoy a healthier harvest. Start with suitable seedlings, prepare fertile and well-draining soil, and give each plant enough room to spread.
Choose a sunny location, handle the roots carefully during planting, and provide consistent moisture as your squash plants establish themselves.
Remember that healthy squash plants need more than just good soil and water. Watch for signs of stress, protect young plants from unsuitable weather, and adjust your care as they grow.
Whether you’re growing zucchini, yellow squash, butternut squash, or another variety, small steps can make a real difference. With the right planting methods and regular care, you can enjoy fresh, homegrown squash straight from your garden.

Plant Nest Blog’s author is passionate about plants, gardening, and sustainable living. Through research and practical experience, they share helpful plant care tips, gardening guides, and easy solutions to help readers grow healthier plants and create greener spaces.