
Think planting squash seeds is just a matter of dropping them into the soil and waiting for a harvest? That simple approach can leave you with weak seedlings, poor germination, or no plants at all.
Planting squash seeds at the right time and giving them the right start can make a huge difference. The good news? You do not need to be an expert gardener to get it right.
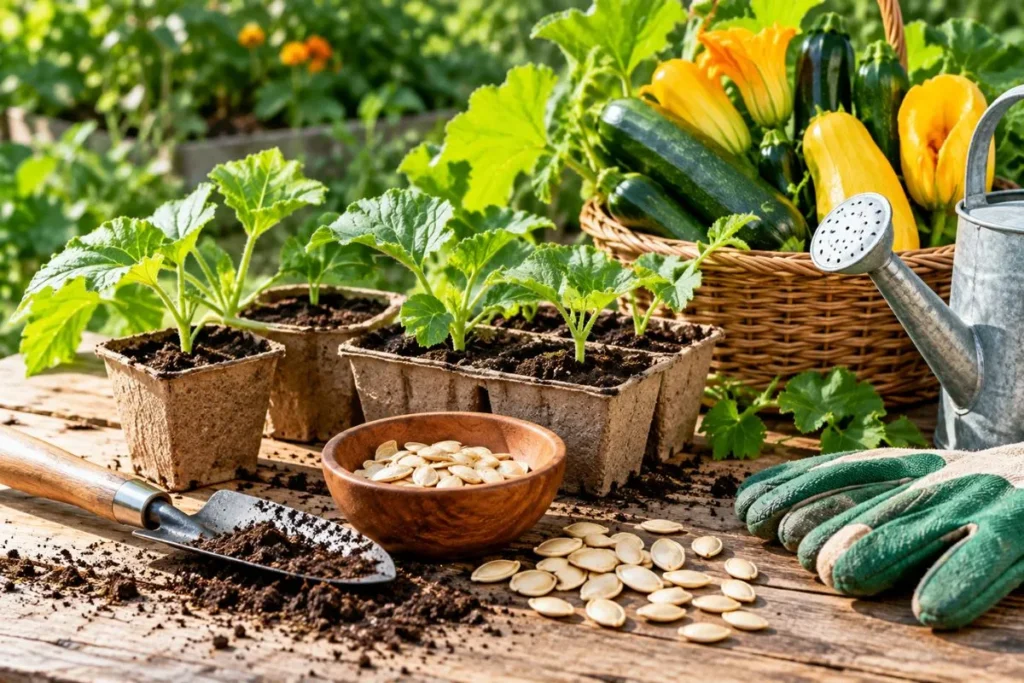
Before growing squash from seed, give your seeds a strong foundation. Pick a sunny spot, prepare loose and well-draining soil, and make sure the soil is warm enough for germination.
Get these basics right from the beginning, and your squash seed planting can turn into strong plants and a much better harvest.
When Is the Best Time for Planting Squash Seeds?
Many gardeners think they should plant squash seeds as soon as spring arrives, but the calendar alone does not decide the right time. Squash is a warm-season crop, so cold soil can slow germination and leave young seedlings struggling.
For successful planting squash seeds, wait until the danger of frost has passed and the soil has warmed enough for steady growth.
Check Your Local Growing Season
Your local growing season is one of the most important factors when deciding when to plant squash seeds. Look at your area’s typical last frost date, but also pay attention to actual weather and soil conditions. Squash seeds perform best when planted into warm soil rather than cold, wet ground.
If nights are still chilly, waiting a little longer can be smarter than rushing. Warm soil encourages faster squash seed germination, while cold conditions can delay emergence. This simple timing decision can give your seedlings a much stronger start.
Planting Squash Seeds in Spring
Spring is a popular time for squash seed planting, but choose a warm stretch rather than planting on the first mild day. Once frost risk has passed and the soil is warm, you can sow the seeds directly into the garden. Pick a sunny location where the plants will have plenty of room to spread as they grow.
For gardeners with a short growing season, starting squash seeds indoors can provide an earlier start. Just remember that squash seedlings can be sensitive to root disturbance, so handle them carefully when moving them outside.
Planting Squash Seeds Outdoors
Planting squash seeds outdoors is often the simplest approach when your growing season is long enough. Direct sowing avoids the extra step of transplanting and lets the seeds establish where they will grow. Prepare the soil first, choose a sunny spot, and wait for suitable warm conditions.
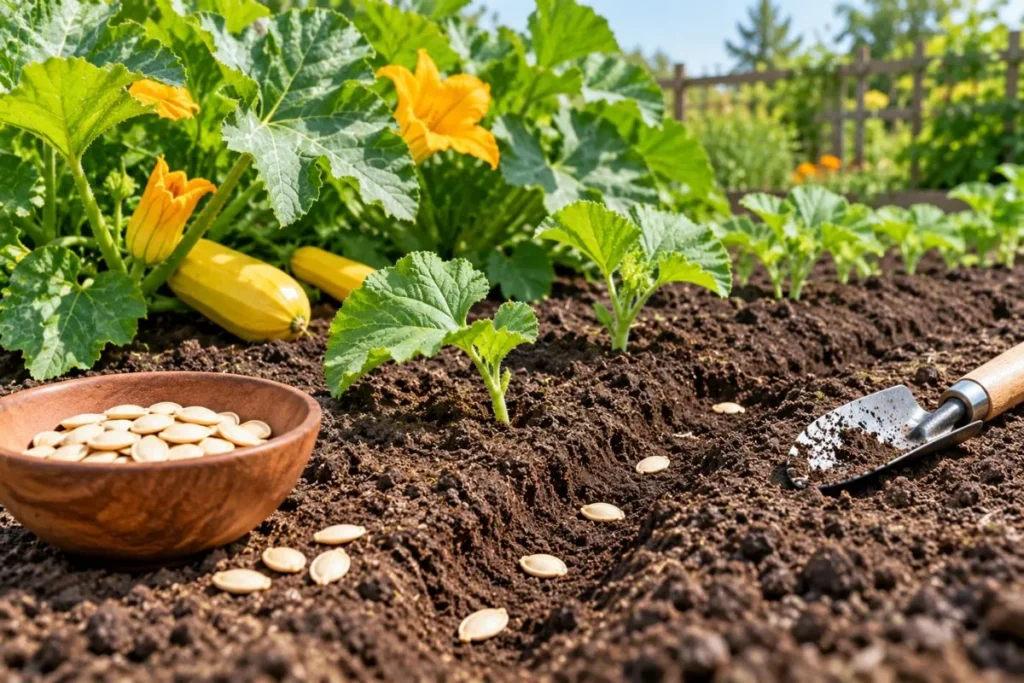
When planting squash seeds outdoors, avoid working with soil that is cold and waterlogged. Good drainage and steady moisture create a better environment for germination. With the right timing and growing conditions, direct-sown squash seeds can get off to a strong start.
How to Plant Squash Seeds Step by Step
Many gardeners think successful planting squash seeds starts with the seed itself, but the planting site can make just as much difference. Even good seeds can struggle when the soil is compacted, the location is too shady, or the planting conditions are poor.
If you want growing squash from seed to go smoothly, set up the garden first and then plant with care.
Choose a Sunny Planting Site
Squash loves sunlight, so start by choosing a spot that receives plenty of direct sun each day. Good sunlight supports strong leaf growth and helps squash plants produce flowers and fruit. Give the vines enough room to spread instead of squeezing them between other vegetables.
A sunny, open location also improves airflow around the plants. This can be helpful as the foliage becomes larger and the plant develops. Before planting squash seeds in the garden, look at the space from morning to afternoon and make sure nearby walls, trees, or larger plants will not shade it for most of the day.
Prepare the Soil
Good soil gives squash seeds a much better place to start. Before squash seed planting, loosen the soil so young roots can move through it easily. Squash generally performs well in fertile, well-draining soil that holds enough moisture without staying soggy.
Remove large stones, weeds, and hard clumps from the planting area. If the soil is poor, adding suitable organic matter can improve its structure and fertility. The goal is simple: create a loose growing medium where roots can establish without fighting through compacted ground.
This step is especially important when following a best soil for planting squash seeds approach. Healthy soil supports both early root development and later plant growth.
Make the Planting Hole
Once the soil is ready, make a small hole at the appropriate squash planting depth. Do not bury squash seeds excessively deep because they need suitable conditions to emerge through the soil.
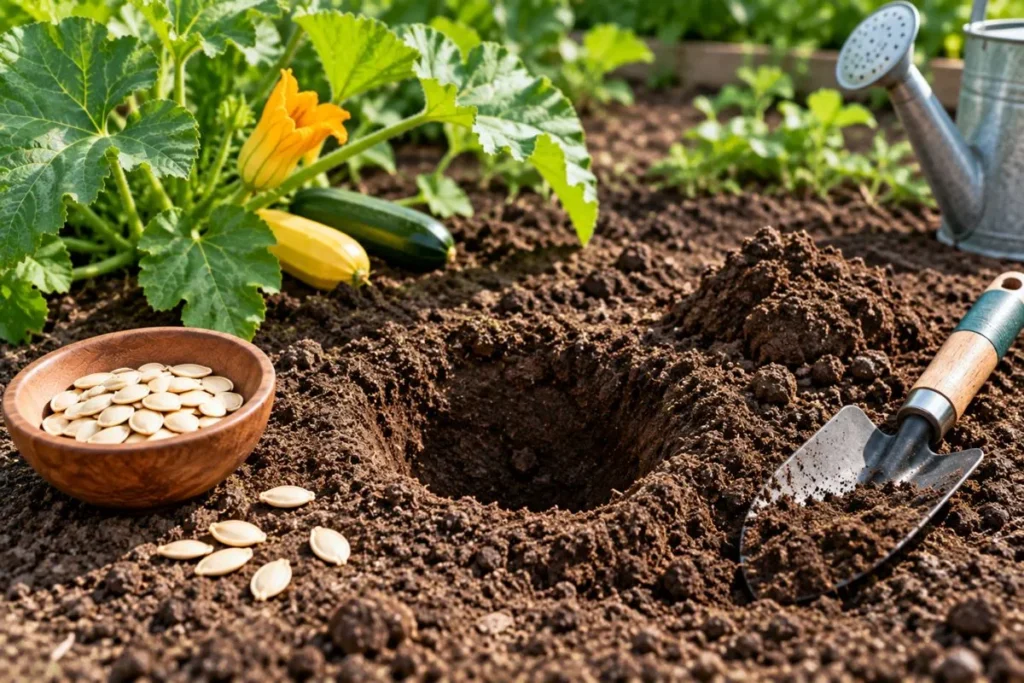
Place the seed in the hole and cover it gently with loose soil. Avoid packing the soil down too firmly afterward. You want the seed covered and protected while still leaving the surrounding soil easy for the emerging seedling to push through.
If you are wondering how deep to plant squash seeds, always follow the planting depth recommended for your particular seed variety when it differs from the general guidance on the packet.
Place and Cover the Seeds
Place healthy squash seeds into the prepared soil and cover them evenly. If you are sowing several seeds, give them enough space from the beginning rather than creating a crowded patch that you will need to correct later.
After covering the seeds, gently firm the soil. There is no need to press it down hard. Keeping the planting area neat and evenly covered helps maintain good contact between the seed and soil.
For how to plant squash seeds in the garden, think of the process as creating a comfortable starting environment rather than simply burying seeds. Warm soil, suitable depth, moisture, and space all work together.
Water After Planting
Water the planting area soon after sowing. The soil should become evenly moist, but avoid soaking it until it becomes muddy. Too much water can create poor conditions around the seeds, while very dry soil can interrupt squash seed germination.
Check the soil regularly during the early stages. Weather, soil type, and sunlight can change how quickly moisture disappears. Once the seedlings emerge, continue providing consistent moisture while avoiding waterlogged soil.
With the right combination of sunlight, prepared soil, proper depth, spacing, and moisture, planting squash seeds becomes a much more straightforward process. Give the seeds a good start now, and you will set your squash plants up for healthier growth later.
How Deep to Plant Squash Seeds
Many gardeners assume that planting squash seeds deeper will protect them and help them grow stronger. In reality, burying them too deeply can make it harder for the young shoots to reach the surface. Getting the squash planting depth right gives the seed a better chance to emerge evenly and develop into a healthy seedling.
Choose the Right Planting Depth
When deciding how deep to plant squash seeds, use the seed packet as your first guide because recommended depths can vary by variety and growing conditions.
In general, squash seeds should be planted only deep enough to stay covered with soil while still allowing the emerging seedling to reach the surface easily.
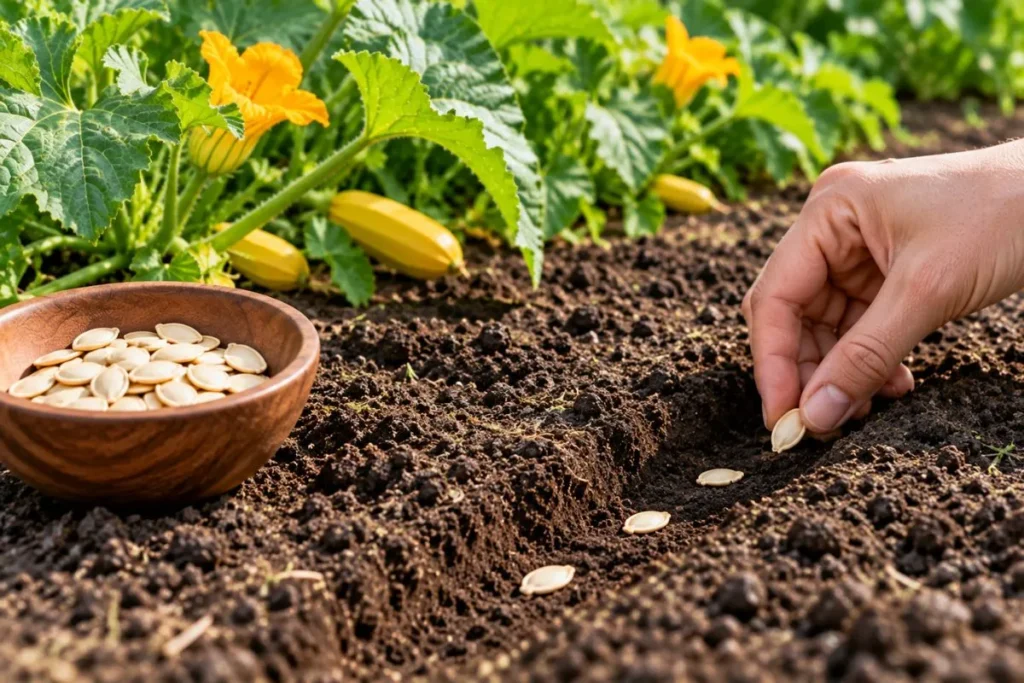
Avoid making a deep hole and dropping the seed far below the surface. A seed that sits too deep may struggle to emerge, especially if the soil becomes compacted after watering or rain. Proper squash seed planting is about finding a balance between good soil contact and easy emergence.
Why Planting Depth Matters
Planting depth directly affects how easily a squash seed can emerge. If you plant it too shallow, the seed may become exposed, dry out quickly, or move when you water the garden. If you plant it too deeply, the emerging shoot has more soil to push through before it can reach sunlight.
This is why planting squash seeds at a suitable depth is an important part of successful germination. Once the seed has enough moisture, warmth, and air around it, the developing root can move downward while the shoot grows upward toward the surface.
How Soil Type Can Affect Planting Depth
Your soil texture also matters. Loose garden soil is easier for a young squash shoot to push through than heavy, compacted soil. If your garden soil becomes hard after watering, prepare it well before planting so the seedling does not have to fight through a dense surface.
In lighter soil, moisture may also drain away faster, so keep an eye on the planting area after sowing. The goal is not simply to follow how deep to plant squash seeds, but to create a planting environment where the seed can stay protected and the young shoot can emerge without unnecessary resistance.
For the best results, combine the correct squash planting depth with warm soil, suitable moisture, and good soil preparation. These simple details can make planting squash seeds much more reliable and help your seedlings get off to a strong start.
How Far Apart to Plant Squash Seeds
Many gardeners think planting squash seeds close together will give them a fuller garden and more fruit. The opposite can happen. Squash plants can spread quickly, and crowded seedlings compete for sunlight, water, nutrients, and airflow. Getting squash seed spacing right from the beginning gives each plant enough room to develop without fighting its neighbors.
Understand Squash Plant Spacing
When deciding how far apart to plant squash seeds, first consider the type of squash you are growing. Some varieties grow in a compact, bushy form, while others produce long vines that can take over a surprisingly large area. Always check the spacing recommendation on your seed packet for the specific variety.
Give each planting spot enough room for the mature plant, not just the tiny seedling you see today. Proper squash plant spacing allows leaves to spread naturally and gives developing vines space to move across the garden.
Good spacing also improves airflow around the foliage. When plants are packed together, dense leaves can create a crowded environment that makes routine watering, inspection, and garden care more difficult.
Plant Seeds in Hills or Mounds
Growing squash in small hills or mounds can be useful in some gardens, particularly where drainage or soil warmth is a concern. The raised soil can provide a suitable planting area for squash seeds and help excess water move away from the seed zone.
If you plant several seeds in one mound, avoid leaving every seedling to grow there permanently. Once the seedlings become established, thin them according to the variety’s recommended spacing. This prevents several plants from competing in one small area.
Mound planting is not required for every garden, though. A well-prepared, well-draining garden bed can also work very well for planting squash seeds.
Thin Crowded Seedlings
Sometimes you plant carefully but still end up with more seedlings than expected. This can happen when several seeds germinate successfully in the same spot. Leaving all of them crowded together may result in weaker growth because the young plants compete for essential resources.
Thinning gives the strongest remaining seedling more room to develop. Instead of pulling aggressively and disturbing nearby roots, remove unwanted seedlings carefully. If several seedlings are growing extremely close together, thinning early is usually easier than waiting until their roots become more established.
Proper spacing is one of the simplest squash gardening tips to overlook, but it can have a big effect on how manageable your garden becomes. Whether you are planting squash seeds outdoors or growing squash from seed in a prepared bed, give the plants enough space to grow into their full form rather than judging spacing by their size on planting day.
Frequently Asked Questions
How do you plant squash seeds?
Choose a sunny planting site with fertile, well-draining soil. Place the seeds at the recommended depth, cover them lightly with soil, and water the area gently. Keeping the soil warm and evenly moist helps support squash seed germination.
When should you plant squash seeds outdoors?
The best time for planting squash seeds outdoors is after the danger of frost has passed and the soil has warmed. Squash is a warm-season crop, so avoid sowing seeds in cold soil.
How deep should squash seeds be planted?
Follow the depth listed on your seed packet because recommendations can vary by variety. Avoid planting seeds too deeply, as young shoots may struggle to reach the surface.
How far apart should squash seeds be planted?
Spacing depends on the squash variety and its mature growth habit. Bush types generally need less room than sprawling vine types. Check the seed packet for the recommended squash plant spacing before sowing.
What is the best soil for planting squash seeds?
Squash prefers fertile, loose, well-draining soil that can hold moisture without becoming waterlogged. Improving poor soil with suitable organic matter can create better conditions for planting squash seeds and early root development.
How long does it take squash seeds to germinate?
Under suitable warm and moist conditions, squash seeds can germinate relatively quickly. Cold soil, inconsistent moisture, poor seed quality, or unsuitable growing conditions can slow squash germination time.
Can you start squash seeds indoors?
Yes. Starting squash seeds indoors can give gardeners an earlier start, especially where the outdoor growing season is short. However, squash seedlings should be handled carefully when transplanting because their roots can be sensitive to disturbance.
Can squash seeds be planted directly in the garden?
Yes. Direct sowing squash seeds is a simple option when outdoor conditions are warm enough. Prepare the soil, choose a sunny location, follow the recommended planting depth, and keep the soil evenly moist after sowing.
How much sunlight do squash plants need?
Squash plants grow best in a sunny location with plenty of direct light. Good sunlight supports vigorous growth and helps plants develop flowers and fruit during the growing season.
How often should you water newly planted squash seeds?
Keep the soil consistently moist while the seeds are germinating, but avoid keeping the planting area saturated. Check the soil regularly because hot, dry weather can cause moisture to disappear quickly.
Conclusion:
Successful planting squash seeds does not have to be complicated. Start with the right timing, prepare good soil, choose a sunny location, and give each seed enough space to grow. Paying attention to planting depth and moisture can also make the early stages much easier.
If you are growing squash from seed, remember that small details matter. Do not rush seeds into cold soil, bury them too deeply, or crowd too many plants into a small space. Give them suitable growing conditions from the start, and your seedlings will have a better foundation for healthy growth.
Whether you are planting zucchini, summer squash, or winter squash, the basic approach remains straightforward. Choose the right variety for your garden, follow its planting instructions, and keep an eye on the plants as they develop.
With a little preparation and consistent care, squash seed planting can turn a handful of seeds into productive plants and, eventually, a rewarding harvest. Start with the basics, avoid the common mistakes, and let your squash plants do the growing.

Plant Nest Blog’s author is passionate about plants, gardening, and sustainable living. Through research and practical experience, they share helpful plant care tips, gardening guides, and easy solutions to help readers grow healthier plants and create greener spaces.